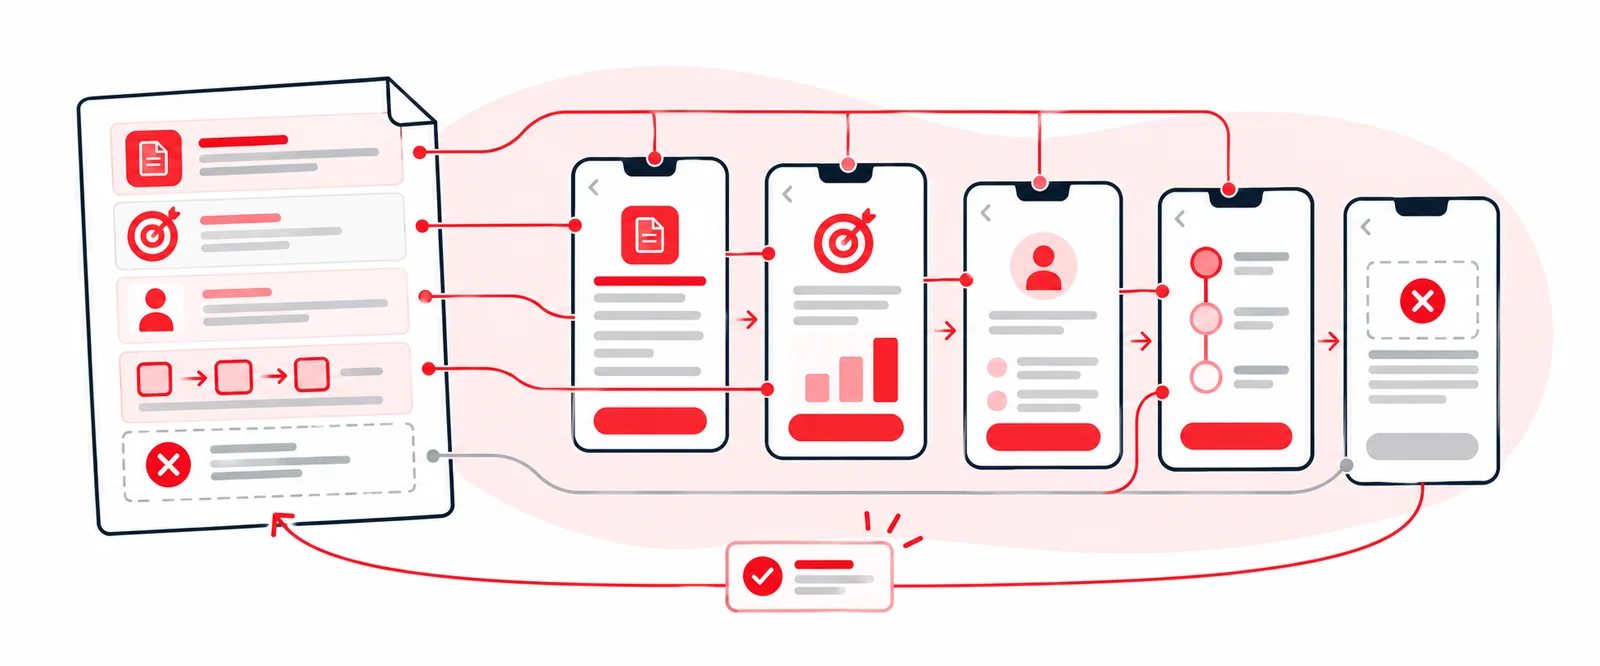
A while ago I went from an idea to a documented, clickable, working proof of concept in under 20 minutes. Not a sketch. Something I could click through and react to.
The speed wasn’t the interesting part. What made it work was the order: requirements first, then the prototype. Most people using AI to prototype skip straight to “build me an app that does X,” get something generic and spend the next few hours prompting their way out of it. I’ve done that too. I once spent $25 and three hours on CSS I could have written myself in 30 minutes, because I handed the AI a vague task and kept going.
Here’s the workflow that avoids that.
Why PRD-first beats prompt-first
An AI model building a prototype has to make hundreds of small decisions: what’s on each screen, what happens on error, what’s in scope. If your prompt doesn’t answer them, the model guesses. The guesses are plausible and generic, and you end up correcting them one prompt at a time.
A PRD answers those questions up front. When the model gets a structured brief with the problem, the users, the key flows and what’s out of scope, there’s much less to guess. Good input, good output. It’s the same reason a designer with a sharp brief does better work than one guessing at intent.
The workflow
1. Write the PRD (about 10 minutes)
Describe the idea conversationally: the problem, who it’s for, what success looks like. Have the AI ask you questions until the gaps are filled, then shape it into a PRD with objectives, user stories, scope boundaries and key flows. The detail is in How to write a PRD with AI.
Writing it forces you to sharpen the idea, which is the point.
2. Hand the PRD back as the brief
Paste the finished PRD as the prompt for the prototype. Add only what the PRD doesn’t cover:
- The platform (a mobile web app, a desktop dashboard)
- What should be real and what can be faked (sample data instead of a live backend)
- Any visual direction (your brand colors, an existing screen to match)
Because the requirements are already structured, the model translates them into working screens instead of interpreting a one-liner.
3. Click through it and react
Within minutes you have something you can tap through. This changes the conversation, with stakeholders and with yourself. You stop debating the idea in the abstract and start reacting to something real.
Write down what’s wrong as you click, then fix it in batches. One prompt per issue gets slow and the model loses the thread.
4. Update the PRD with what you learned
The prototype will show you things the PRD missed: an empty state nobody thought about, a flow that needs one more step. Put those back in the PRD. Now it’s better than when you started, and it’s what engineering will build from.
Make it repeatable
The first time is a novelty. It becomes a workflow when you stop starting from scratch. Save your PRD structure, your prototype conventions and your brand rules as reusable instructions, and chain the steps: interview, PRD, prototype. My consulting site is built this way. It’s not one magic prompt, it’s a pipeline where I direct and review each step (how that works).
What an AI prototype is for, and what it isn’t
It’s for:
- Testing whether an idea holds up before anyone commits engineering time
- Getting stakeholders to react to something concrete
- Showing engineers and designers what you mean, faster than a document alone
It isn’t for:
- Shipping. Prototype code hasn’t been through engineering review for security, accessibility, performance or edge cases. Treat it as a very detailed sketch.
- Replacing design. It shows a flow; it doesn’t do the careful work of making that flow good.
- Proving there’s a problem. A beautiful prototype of a solution nobody needs is still a solution nobody needs.
Where it goes wrong
- Skipping the PRD. You get generic output and spend hours steering it.
- Not knowing when to stop. If you could do it faster yourself, do it yourself. That was my $25 lesson.
- Building because it’s fast. When building takes minutes, ideas multiply faster than your judgment about which ones matter. Speed makes clarity more important, not less.
The tools compress the time between “I have an idea” and “I have something real to react to.” That gap is where most ideas die. Closing it matters, as long as what you bring to it is real.